
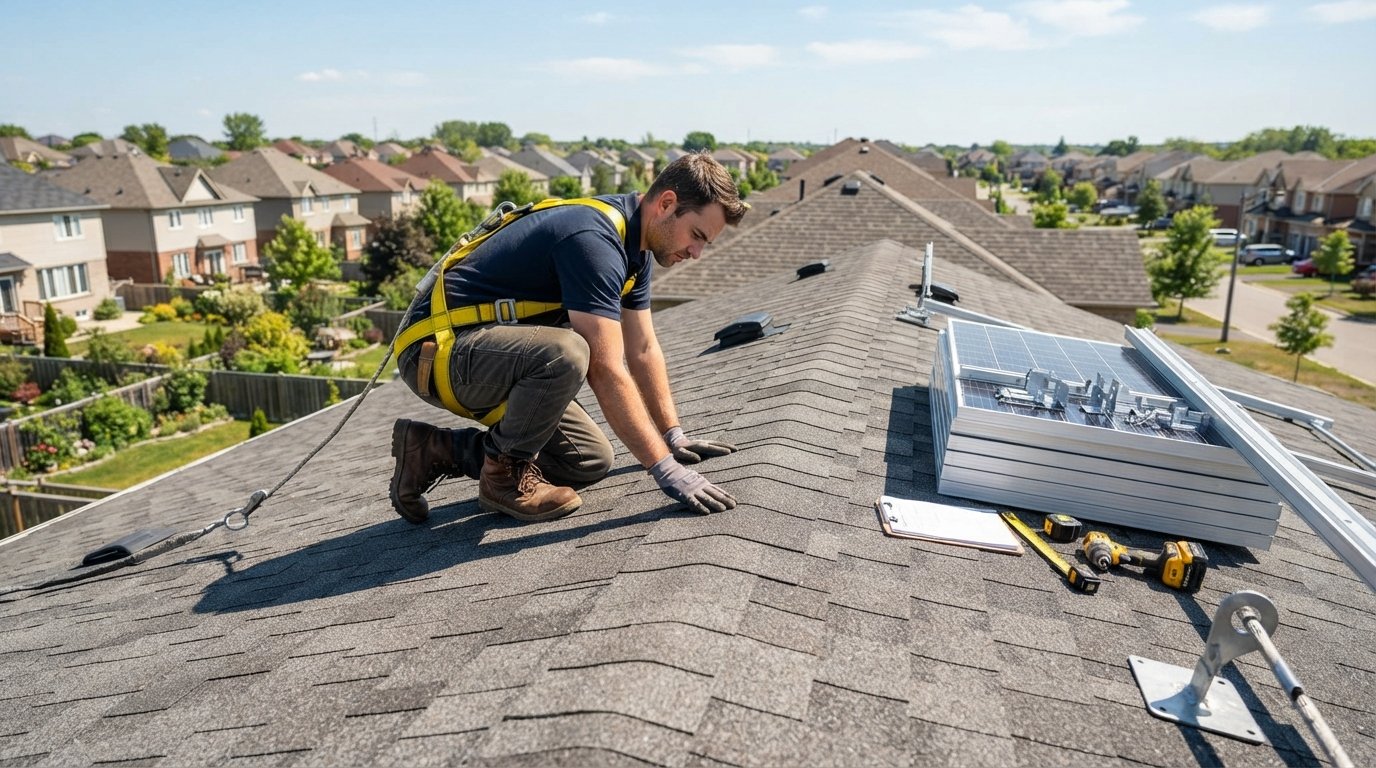
How to Prepare Your Roof for Solar Installation: A 2026 Guide
Learn how to prepare your roof for solar installation and protect your investment with proper inspections, repairs, and planning.

By Benjamin Taylor
Learn more about Solar Panel Installation and Repair for guides, costs, and what to expect.
Compare Solar Panel Installation and Repair Pros Near You

Enter your ZIP code to compare top-rated local professionals and request free quotes.
Your roof is the foundation of your entire solar investment. Before a single panel is mounted, the condition, structure, and orientation of your roof will determine how much energy your system produces, how long it lasts, and whether you face costly repairs down the road. Many homeowners focus on panels, inverters, and batteries while overlooking the roof itself, only to discover leaks, sagging, or premature wear after installation. This guide walks you through how to prepare your roof for solar installation so you can protect your investment, maximize savings, and avoid surprises.
Why Roof Preparation Matters for Solar Success
A solar panel system can last 25 to 30 years, but your roof may not. If your roof has only a few years of life left, installing panels now means paying to remove and reinstall them when the roof fails. That double labor cost can wipe out years of energy savings. Preparation also affects performance. A structurally sound, properly oriented roof allows panels to sit flush, catch maximum sunlight, and shed water correctly. Poor preparation leads to leaks, voided warranties, and reduced output.
Beyond the physical structure, preparation involves understanding your roof's age, material, and local building codes. Different roofing materials, such as asphalt shingles, tile, metal, and flat membranes, require different mounting hardware and techniques. In our guide on tile roof solar installation, we explain how fragile tiles need special handling to avoid breakage during installation. Knowing these details upfront helps you ask the right questions and get accurate quotes.
Assess Your Roof's Age and Condition
Start by determining the age of your roof. If it is less than 10 years old and in good condition, you likely have little to worry about. If it is 15 to 20 years old, you should have a professional inspection before committing to solar. Asphalt shingles typically last 20 to 25 years, while metal roofs can last 40 to 70 years. Tile roofs may last 50 years or more but are brittle and prone to cracking. Flat roofs with tar and gravel or EPDM membranes have shorter lifespans and require different mounting systems.
Look for signs of wear: cracked, curling, or missing shingles, granules in gutters, rust on metal panels, or moss and algae growth. Check for sagging areas, which may indicate structural weakness. If you find multiple issues, consider replacing the roof before installing solar. While that adds upfront cost, it is far cheaper than removing and reinstalling panels later. Many solar installers will not warrant their work on an aging roof, so addressing it first protects you.
Inspect the Roof Structure and Attic
Solar panels add weight, typically 2 to 4 pounds per square foot. Most modern roofs can handle this load, but older homes or those with previous damage may need reinforcement. A structural engineer or roofing contractor can assess whether your rafters, trusses, and sheathing are up to the task. In the attic, look for signs of water damage, mold, or daylight coming through the roof boards. These indicate leaks or poor ventilation that must be fixed before solar installation.
Proper attic ventilation is also critical. Solar panels heat up during the day, and if your attic cannot release that heat, it can shorten the life of your roof and increase cooling costs. Ensure you have adequate intake and exhaust vents. If not, add them during the preparation phase. Good ventilation also helps prevent ice dams in colder climates.
Evaluate Roof Orientation, Pitch, and Shading
Solar panels produce the most electricity when they face south, but east and west orientations can still work well, especially with modern inverters. The pitch of your roof matters too: a 30 to 45 degree angle is ideal for year-round production in most U.S. locations. Flat roofs require tilted racking to optimize sun exposure. If your roof is steep or complex, installers may need extra hardware and labor, which affects cost.
Shading is another key factor. Trees, chimneys, and nearby buildings can cast shadows that reduce output. Even partial shading can disproportionately lower production if panels are wired in series. During preparation, identify shading patterns throughout the day and seasons. You may need to trim trees or choose microinverters or power optimizers to mitigate shading losses. A professional site assessment using tools like satellite imagery and shading analysis will give you accurate data.
Choose the Right Roofing Material for Solar
Not all roofing materials are equally solar-friendly. Here is a quick comparison of common options:
- Asphalt shingles: Most common and affordable, easy to mount, but may need replacement sooner.
- Metal roofing: Durable, long-lasting, and ideal for solar, especially standing seam metal, which allows clamps without drilling.
- Tile (clay or concrete): Attractive and long-lived, but fragile and require special mounts and careful installation.
- Flat membranes (EPDM, TPO): Common on commercial buildings, require ballasted or adhered mounting systems.
- Wood shakes: Rare and often discouraged for solar due to fire risk and difficulty of mounting.
If you are planning a roof replacement anyway, consider upgrading to a solar-ready material like standing seam metal. It may cost more upfront but eliminates the need for penetrations and simplifies installation. Some homeowners also choose solar shingles, which integrate directly into the roof, though they are more expensive and less efficient than traditional panels.
Plan for Repairs, Replacement, or Reinforcement
Once you have assessed your roof, decide whether to repair, replace, or reinforce it. Minor issues like a few cracked shingles or loose flashing can be fixed quickly. If the roof is near the end of its life, replacement is the smarter choice. Schedule the roof replacement and solar installation close together to minimize labor costs and avoid leaving the roof exposed. Some solar companies partner with roofing contractors, or you can hire them separately.
For older homes, reinforcement may involve adding sistered rafters or installing a new layer of sheathing. This is also the time to upgrade underlayment and flashing to ensure a watertight seal around mounting points. Remember that solar panels are only as good as the roof beneath them, so do not cut corners here. A reputable installer will include a roof inspection in their proposal and may require repairs before proceeding.
Understand Permits, Codes, and Insurance
Solar installation requires building permits and sometimes electrical permits. Your installer typically handles the paperwork, but you should verify that they are licensed and insured. Local codes may dictate setback requirements, fire access pathways, and structural load limits. For example, many jurisdictions require a 3-foot clear path along roof ridges and edges for firefighters. Your roof must also meet current building codes, which may mean upgrades if it was built decades ago.
Inform your homeowner's insurance company before installation. Most policies cover solar panels as part of the home, but you may need to increase your coverage to reflect the added value. Some insurers offer discounts for solar, while others may charge slightly more. It is also wise to check your warranty: installing solar may void your roof warranty if not done correctly. Look for installers who offer workmanship warranties that cover both the roof and the solar system.
Get Professional Inspections and Multiple Quotes
Before you commit, get at least three quotes from reputable solar installers. Each should include a roof inspection, shading analysis, and production estimate. Ask specifically about how they handle roof penetrations, flashing, and warranty coverage. A good installer will walk you through the preparation steps and flag any issues. Be wary of companies that promise unrealistic savings or skip the inspection.
If you want to compare options from vetted providers in your area, you can use a service like NewSolarQuotes to request free, no-obligation quotes. This allows you to see how different companies approach roof preparation and pricing. For a broader educational resource, FreeSolarPowerQuotes also connects homeowners with pre-screened installers and offers guides on financing and incentives. Always verify licensing and read reviews before signing a contract.
Prepare the Surrounding Area and Interior
Installation day will be noisy and busy. Clear your driveway and yard to give the crew space to work and stage materials. If you have attic access, ensure it is unobstructed for wiring. Cover furniture and electronics in rooms below the roof to protect against dust. Remove fragile items from walls that may vibrate during drilling. If you have pets or children, arrange for them to be away or supervised, as installers will be moving in and out.
Also, plan for a power shutdown. The installation will require turning off your main electrical panel for several hours. Notify anyone who works from home or relies on medical equipment. Once the system is installed, your installer will coordinate with the utility for inspection and interconnection, which can take a few weeks. During that time, your solar may be physically ready but not yet generating credits.
Final Checklist Before Installation Day
To wrap up your preparation, run through this checklist:
- Confirm the roof is structurally sound and has at least 10 years of life remaining.
- Complete any repairs, replacement, or reinforcement.
- Ensure attic ventilation and insulation are adequate.
- Trim trees or remove shading obstacles.
- Verify permits and insurance coverage.
- Clear the work area and protect interior spaces.
- Review the contract, warranty, and timeline with your installer.
Taking these steps will make the installation smoother and protect your investment for decades. A little preparation now prevents expensive headaches later.
Preparing your roof for solar is not just about making the panels fit. It is about ensuring the entire system, roof included, performs reliably for the long haul. By assessing age and condition, addressing structural issues, optimizing orientation and shading, and choosing the right materials, you set the stage for maximum energy production and savings. Work with qualified professionals, ask questions, and do not rush. When done right, your solar-ready roof will quietly power your home for a generation.